I wasn’t around in 1969 when the Telnet command was originally released and I have to admit, I’ve never had to use it as I’ve always used Secure Shell (SSH) to logon to my server at bonkersabouttech.com.
A while ago, I overheard a sysadmin talking about Telnet and ever since, I wondered what it was and what it was used for. So I’ve finally got round to doing a bit of research into it and this blog post is a result of what I have learned:
Telnet is a client-server protocol which provides the user with a terminal session (from the Telnet client application) by which they can gain access to a remote computer. The underlying protocol that Telnet is based on is TCP/IP and by default, a Telnet server listens on port 23 for incoming connections from clients.
The Telnet command (standing for Teletype Network), as mentioned above, was initially released in 1969 and was one of the earliest commands available on the Internet that enabled you to logon to another computer or server remotely.
Telnet is primarily used by network and system administrators to configure and administer network devices such as servers, routes and switches etc.
Telnet isn’t the only way that the Internet allows us to access remote computers. There are alternative protocols such as HTTP and FTP for example, which allow you to obtain specific files from remote computers.
But these protocols don’t actually allow you to login as a specific user.
The difference with the Telnet protocol, is that it allows you to logon as a regular user with whatever privileges that user may have been granted by the remote computer.
So, now that we know what Telnet is, let’s look at some basic Telnet commands and see what Telnet allows us to do.
How does Telnet work?
In order to use Telnet, you must have the Telnet client installed on your computer. In addition, you must have the Telnet software installed and running on the remote device.
By default, Telnet uses the TCP port 23.
When I say port, I don’t mean a physical port on a computer where you would attach a keyboard or a monitor, I am referring to software ports whereby each port number represents a different service running on a computer.
The basic Telnet command syntax is as follows:
telnet [ host [ port ] ]
One thing that you will notice from the above is that Telnet is a very simple command.
The “host” part can either be a network device name or an IP address.
The “port” part is an integer representing the port. This allows us to easily test whether or not a port is open.
So Let’s have a look at an example.
Let’s verify the connection to bonkersabouttech.com on port 443. To do this we simply enter the following:
telnet bonkersabouttech.com 443
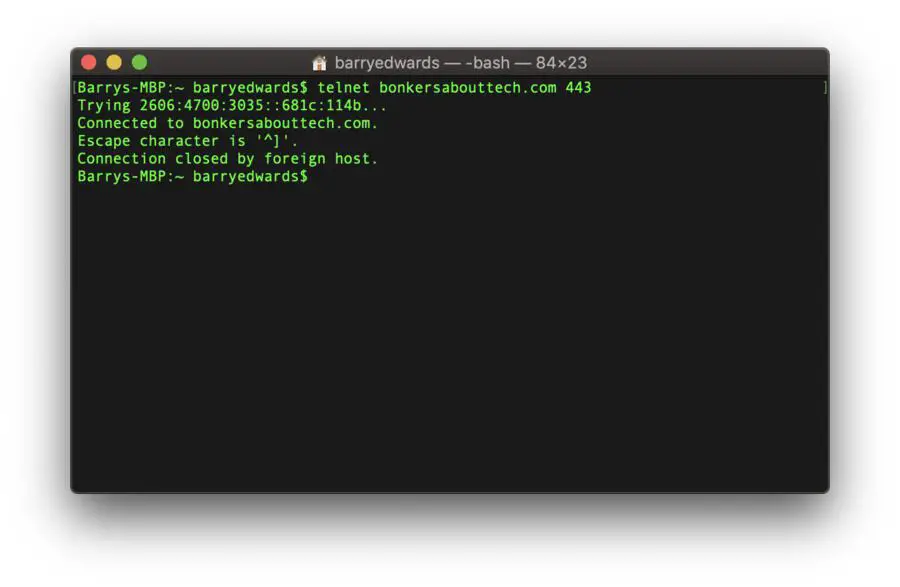
If the command succeeds then you will something like that shown in the figure above, which means that the port is open. If the command fails, then it will usually take some time, then you will receive some kind of error message.
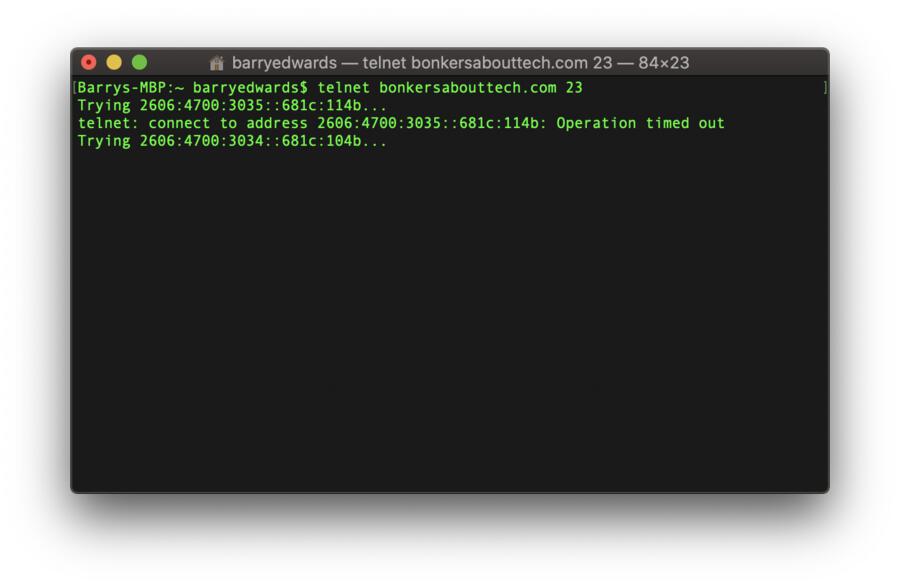
If you do receive an error message, this means that either the specified port is closed, or that the server you’re trying to communicate with isn’t listening on the specified port, or that the port is blocked by a firewall. So, you’ll see something that looks like this. In this case, the operation has timed out because my server isn’t listening on that particular port.
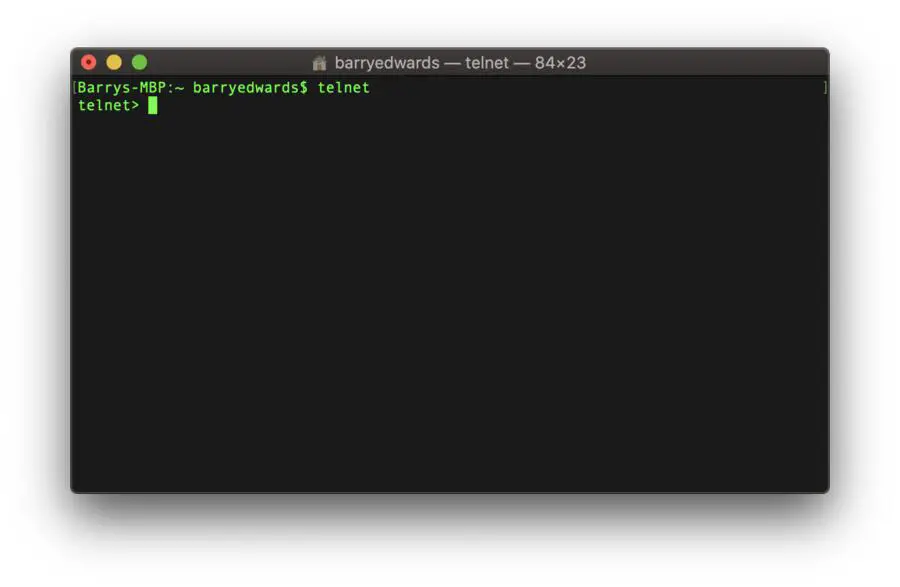
To get a full list of Telnet commands that are available, simply enter a Telnet session like in the figure below:
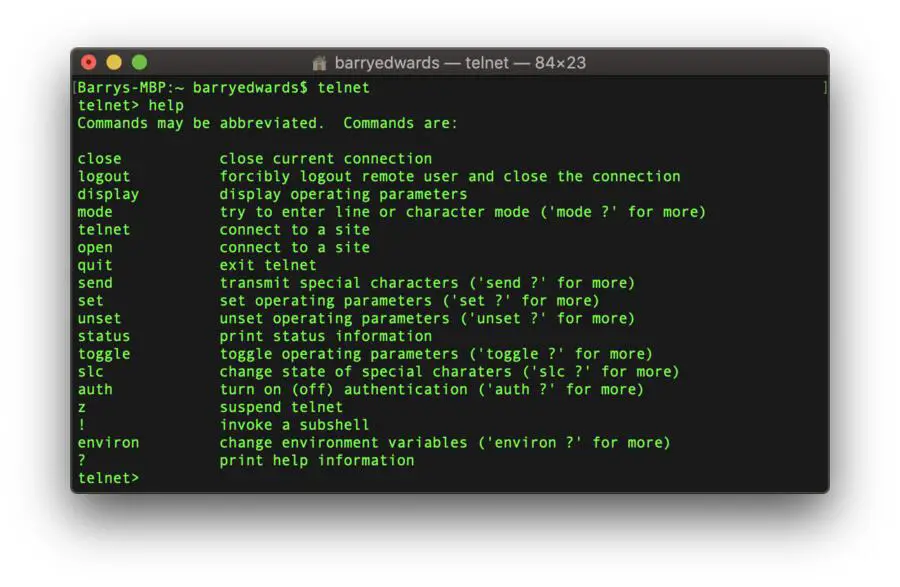
Then we can use the “h” or “help” command like below and there we can see a list of commands that are available to us during a Telnet session:
Telnet vs SSH
The main disadvantage of using Telnet is that all the data that you send using the Telnet command, including usernames and passwords, are sent in plain text, which is obviously a security risk because it is very easy for someone to eavesdrop on your connection and steal your data.
The successor to Telnet is a much more secure protocol, called SSH.
SSH (short for Secure Shell) is another network protocol, which, like Telnet, is used to access a remote device or computer.
The key difference between SSH and Telnet is that SSH uses encryption to transmit data over a network securely to prevent eavesdropping.
As such, SSH uses public key encryption to ensure that data is sent securely.
Let’s look at SSH in a little more detail.
SSH or Secure Shell
SSH is basically a network protocol that allows users (usually system administrators) to access a computer remotely over an unsecured network.
SSH provides strong password authentication, public key authentication and encrypts data that travels between two computers over an open network such as the internet.
SSH has all the features that Telnet provides and enables network administrators to manage systems remotely but in a secure manner. It also enables them to logon to a computer over a network to execute commands on another computer and also move files from one computer to another.
How does SSH work?
SSH is really simple to use, just like Telnet. If you’re a Linux or a Mac user then you can SSH onto a remote server directly from the terminal.
If you’re a Windows user then you can take advantage of an SSL client such as Putty.
The great thing about SSH is that once you have logged on, you can execute commands on the remote computer as if you were physically there.
In order to use SSH to log on to a remote computer you simply use the SSH command. It consists of three main parts:
ssh {user}@{host}
The first part (SSH) tells your computer that you want to open up a Secure Shell connection. The second part (user), is the username of the account on the remote computer that you wish to access. For example, you may wish to access the root user or you might choose to access your personal account on a remote system.
The “host” part is basically the computer that you wish to access. This could either be an IP address or a domain name.
Once you execute the above command you will be prompted to enter a password for your account. Once you hit enter it doesn’t appear to do anything but in actual fact, you are being logged in into your account.
Assuming that your password is correct, you will be logged in to the remote computer and you can execute commands on that remote computer as if you’re in the same physical location.
Is Telnet still used?
For a long time Telnet was the default way to remotely log on to a remote server and typically you would use it to conduct your business whether that be editing files, running programs or simply checking your email.
Similar to SSH as described above, you would logon to the remote system using Telnet, again using a username and password to access the terminal on the remote computer.
But Telnet isn’t used as much now as it used to be, the primary reason being is that the information that is exchanged between a client and a server in a Telnet session is completely unencrypted.
Telnet also doesn’t support modern graphical user interfaces, which means it’s not useful for remotely accessing many modern programs such as word processors, web browsers or spreadsheets that require a GUI interface.
One thing that Telnet is still useful for though is to check the connectivity to remote services.
In other words, you can check that remote services are up and running and you can also use Telnet to check that there are no firewalls blocking you from connecting to a remote server.
Despite Telnet not in widespread use anymore, there are some servers on the internet that allow you to connect to them remotely to either access public data such as weather reports or even to play some simple games.
Usually these services and games exist purely out of nostalgia but there are other legitimate reasons why they are still in place, such as to enable older systems to continue functioning.
Fun things you can do with Telnet
So with that said let’s have a bit of fun and see what fun things are out there that you can access via Telnet.
Watch Star Wars Episode 4 – A New Hope, In ASCII
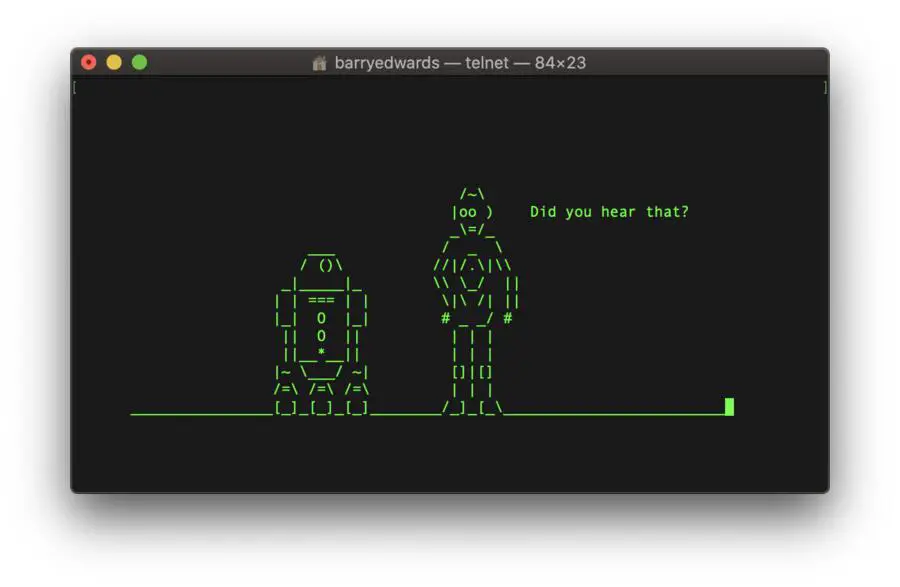
Believe it or not you can watch Star Wars via Telnet.
Basically what someone has done is they have created Star Wars but using ASCII characters.
It’s definitely not a finished product but there is some fun to be had here especially if you’re die hard Star Wars fan.
In order to watch Star Wars Episode 4 using Telnet simply type the following into your Telnet client and before long, you’ll see the ASCII version of r2d2 and c3p0 in your terminal 🙂
o towel.blinkenlights.nl 23
Check The Weather Forecast
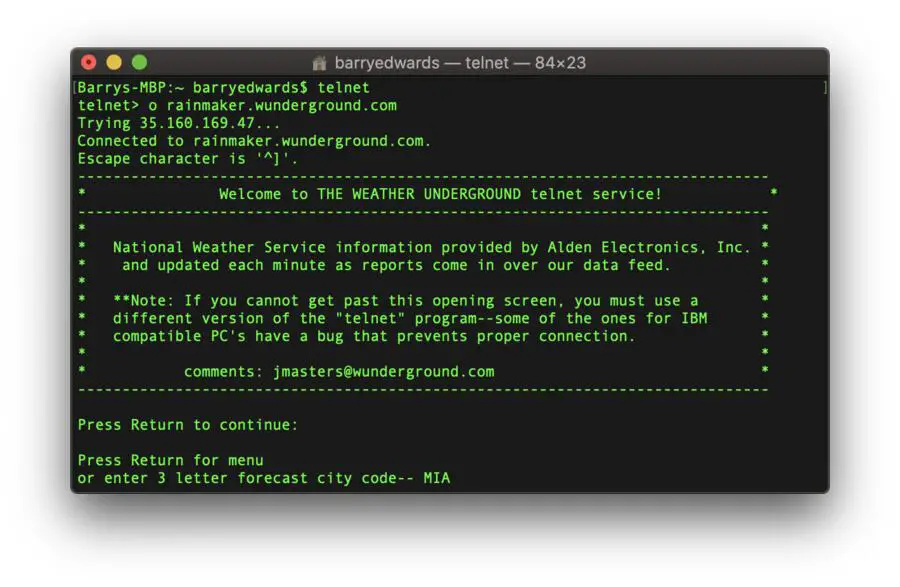
If you’re not content with watching the weather forecast on TV or one of the popular weather apps on your smartphone, then you can always use Telnet.
This service has been running since 1995 and of course it is completely free of charge.
To check the weather forecast via Telnet enter the following into your Telnet client:
o rainmaker.wunderground.com
Play Chess
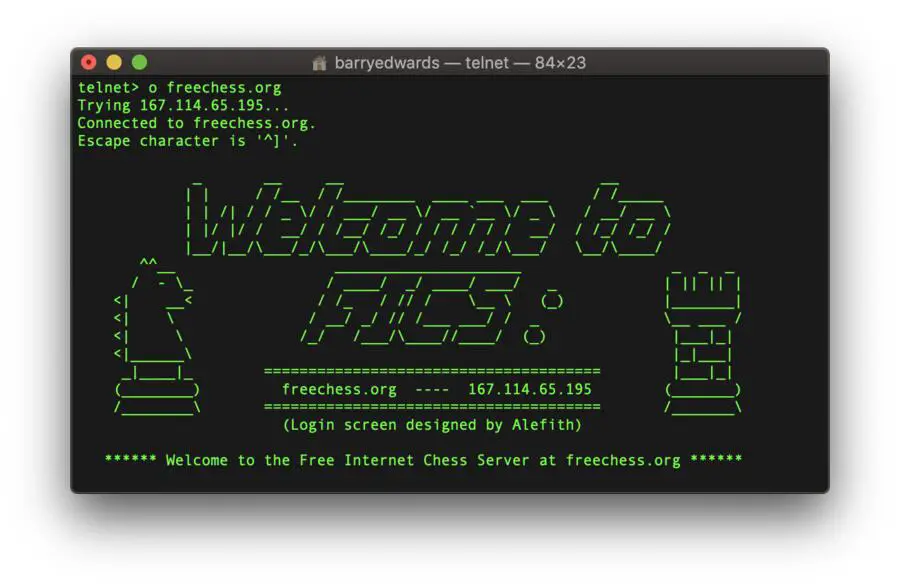
In addition to checking the weather forecast and watching Star Wars, you can even play a game using Telnet.
I’m not talking about anything fancy such as Call of Duty or the latest platformer on your iPhone, I’m talking about chess. It’s completely text-based of course, but nevertheless it’s very impressive.
To access the Free Internet Chess Server, simply use the command:
o freechess.org
Generate an excuse
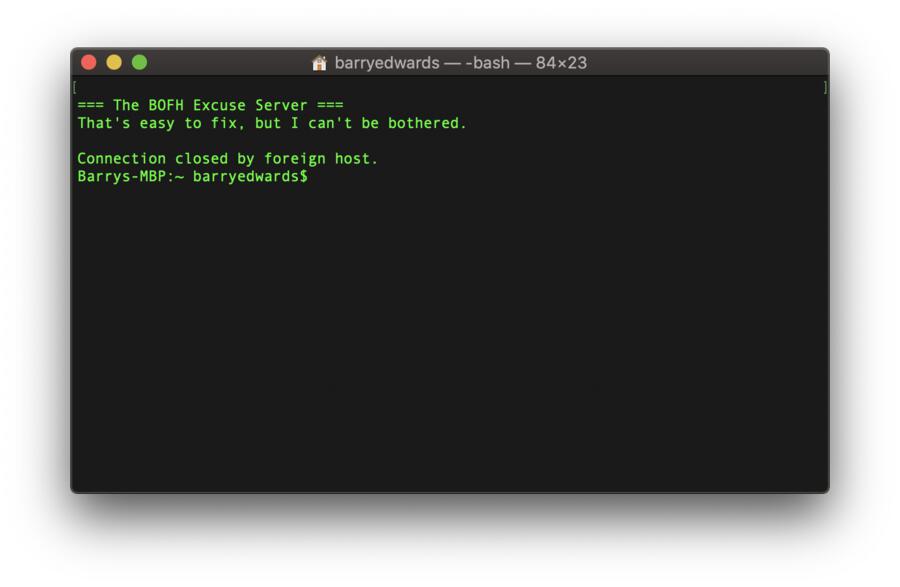
If you’re one of those people that always makes an excuse, then this service could be for you, especially if you’re running out of excuses!
To generate one excuse of the time, simply enter the following into your Telnet client. It will give you one excuse and then your Telnet will exit, so you’ll have to run the Telnet command again to generate another excuse:
telnet towel.blinkenlights.nl 666
Wrapping up
So that’s what the Telnet command is used for in a nutshell. We’ve looked at what Telnet is, we’ve looked at its main uses and I’ve shown you a few simple commands.
Telnet is still around and still has it’s uses, but SSH is now the preferred and more secure method of accessing remote machines. It’s best not to use Telnet to login with your username and password but feel free to checkout some of the fun services that I have listed above whilst they are still available!
