Hunter Hobbs is my hero. This guy has gone where no-one has gone before and got to the bottom of an Excel spreadsheet – MANUALLY!
He set himself a simple challenge:
- Fire up Excel
- Press and hold the down arrow key on the keyboard until he reached the last row on the spreadsheet
A couple of rules applied. No breaks and definitely no cheating with the control key! – he wanted to complete a challenge no-one else had done.
During the video, Hobbs passes the time by eating food, drinking water, 5-Hour Energy drinks, and games of paddle ball.
After 9 hours, 36 minutes and 10 seconds, Hobbs finally reached the bottom of the Excel spreadsheet, row number 1,048,576, after continuously holding down the arrow key!
Hobbs described the challenge as the “Excel Challenge”. He also described it as “The Dumbest challenge ever that someone had to do”.
I salute you Hobbs as will many others, but there are easier way of getting to that last row on the spreadsheet. If you’re an Excel noob, be sure to read on. I’ll also tell you how to reach the bottom of an Excel spreadsheet without hurting your finger!
Excel rows and columns
Spreadsheets are basically giant grids, if you didn’t already know. The letters across the top are column headings and they go from A right the way through to XFD.
In total, as Hobbs found out there are 1,048,576 rows and 16,384 columns.
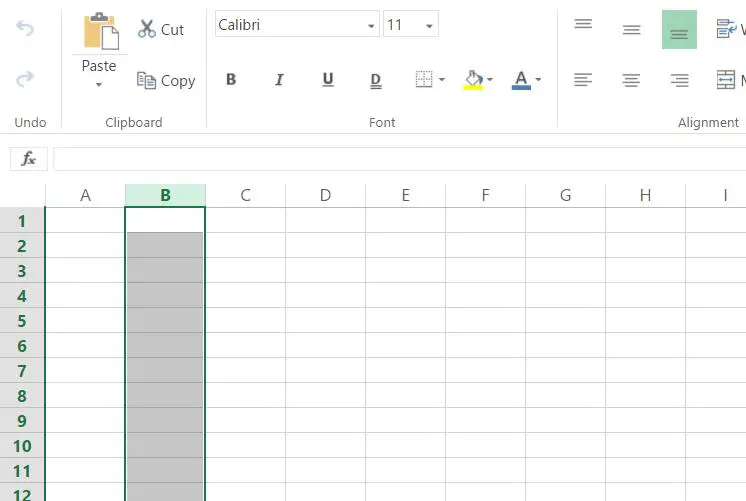
Quick tip for you, if you click on any of the letters, you can highlight the entire column. Check out the image below, it shows the entire B column highlighted.
On the left hand side of the giant grid, you’ll see numbers. They start at 1 at the very top an go right the way down to row number 1,048,576 (as Hobbs found out the hard way). Hobbs, why didn’t you just Google it?! 🙂
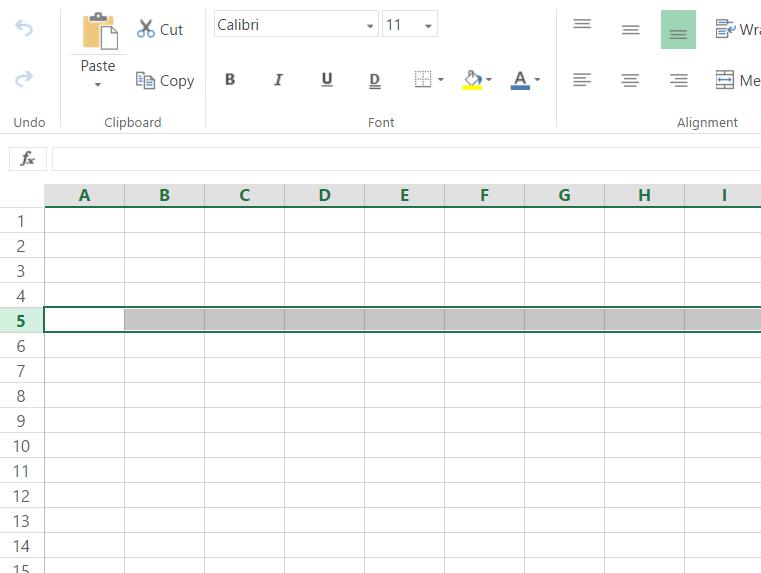
Again like the columns, you can highlight the entire row just by clicking on a number. The image below shows the entire row number 5 highlighted.
So a bit of spreadsheet 101, spreadsheet are all about individual cells. Each cell has a unique grid reference so to speak. So for example, if you combine column F with row 2 you get cell F2.
Depending on the Excel version you are using, selected cells have a black border around them, telling you that its active. If like me though and you’re using the online version, its a green border. In addition, active cells will have the column and row number displayed in the top left. Cells can either accept text, numbers or formulae.
Navigating around the spreadsheet is easy too, just click the cell you’re interested in or press the arrow keys on your keyboard.
Fastest way to get to the bottom of the spreadsheet!
So the fastest way to get to the bottom of a spreadsheet, and not as painful as Hobb’s method, is to use CTRL+END. This will take you to the bottom row.
Jump to the bottom of data with CTRL+Arrow
If you are using the online version of Excel, the shortcut is CTRL+Down Arrow, assuming that there are no blank cells in the data.
CTRL+Up Arrow will allow you to move to the first row in the data set.
If you want to select from the current cell that you are in through to the last row in your data, then you can hold down CTRL+SHIFT whilst pressing the down arrow.
If for example you had data in cells A2 through to J987654, then you can hold down CTRL+SHIFT whilst pressing the down arrow and then the right arrow to select all your data except the first row, where you might have some headings.
Excel is awesome and its been around for years. I can’t think of a single office job where skills in Excel wouldn’t come in handy. If you want to take your Excel skills to the next level and impress your boss, check out this awesome Excel infographic.
H/T: Motherboard
